 Add Row
  Add
Add 


Understanding the Common Problems of Drawer Bottoms
Drawer bottoms, especially those in popular furniture lines such as IKEA's Hemnes collection, face unique challenges as time progresses. Homeowners often experience drawer bottoms bowing or even failing, which can lead to storage issues and frustration. It's crucial to recognize that this isn't just a fault in the manufacturing; rather, it often stems from overloading drawers and improper use. Creating awareness around these issues can empower homeowners to take proactive measures to extend the life of their drawers.
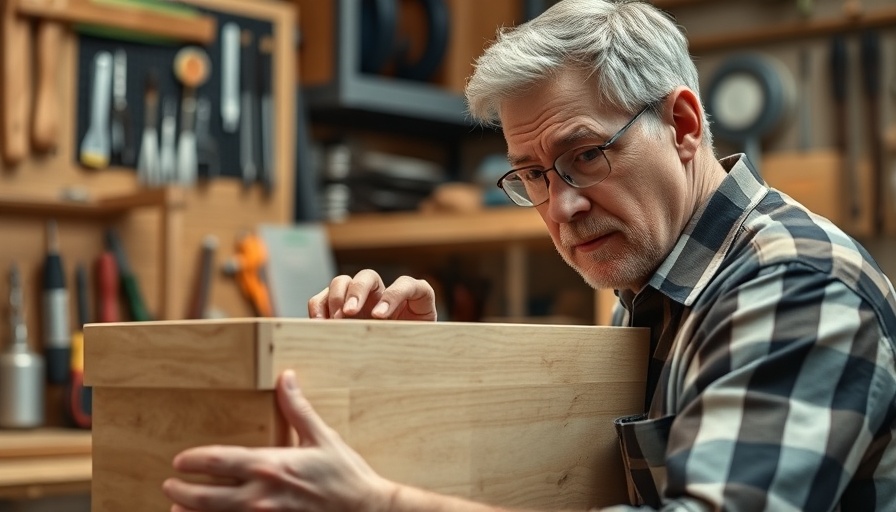
In Fix Your Drawer Bottoms: Easy Repair Tips, we explore practical techniques for restoring your beloved furniture and ensuring its functionality remains intact for years.
Three Practical Solutions to Repair Drawer Bottoms
For those grappling with damaged drawer bottoms, fear not—repairing them is simpler than you might think. Here are three effective methods to restore their functionality:
1. Drawer Supports and Fixing Wedges
The first method involves using drawer supports or fixing wedges. These cost-effective plastic pieces are designed to hold the drawer bottom in place. While they are best suited for drawers that haven't suffered extensive bowing, they are a great initial fix. By inserting these supports between the hardboard and the sides of the drawer, homeowners can prevent further damage. It's essential to secure these with screws to ensure they're holding the bottom firmly in place.
2. Timber Battens for Reinforcement
For drawers showing signs of significant sagging, an effective solution is to reinforce them with timber battens. This technique involves gluing a length of timber to the underside of the drawer, effectively pushing the bottom back into a flat position. This reinforcer not only straightens out the bow but also provides additional strength to the structure. By ensuring the battens are well-glued and secured at the back, homeowners can expect long-term durability from their drawers.
3. MDF Sheets for Heavier Bowing Issues
For drawers that have succumbed to severe bowing, attaching a piece of MDF (medium-density fiberboard) can be the best course of action. Instead of merely relying on battens, this method adds a solid base beneath the drawer bottom, combating the sagging effect. To do this, simply cut an MDF piece to fit within the drawer, apply glue, and secure it with weights until dry. This provides a strong reinforcement that alleviates the strain on the drawer bottom, promising to breathe new life into your furniture.
Preventative Measures and Best Practices
Beyond repairs, there's a need for conscientious practices that can prevent damage to drawer bottoms in the first place. Homeowners should consider how much weight they're placing in their drawers. Common practices, like piling clothes or pushing items down, can easily lead to structural damage. To avoid this, it's essential to regularly assess the contents of your drawers and ensure they are not overloaded. Understanding the limits of your drawer's capacity can save you from costly repairs and replacements down the road.
Making Smart Choices with Your Furniture
When purchasing future furniture, consider materials and design. Investing in sturdier drawer constructions from the outset can enhance longevity. Look for pieces that feature stronger materials or additional support elements, as this can make a difference in the long run. With smart choices and good habits, homeowners can enjoy the benefits of their investments for years to come.
In Fix Your Drawer Bottoms: Easy Repair Tips, we explore practical techniques for restoring your beloved furniture and ensuring its functionality remains intact for years. By understanding how to fix these common issues and implementing preventative measures, homeowners can feel confident in their ability to maintain their spaces effectively.


 Add Row
  Add
Add 

Write A Comment